You can install IonCube to protect your php code against copy, ensuring nobody will be able to crack.
The IonCube Encoder compiles source code to bytecode being able to obfuscate and encrypt compiled code.
Once your PHP application is compiled with IonCube to bytecode, to run it you will have to install the IonCube Loader php extension.
In this post, we will show you how to install the IonCube loader.
And remember, if you want to have acces to a WordPress Hosting that cares for your work, register at wetopi.com
What is IonCube loader?
ionCube Loader is a free PHP dynamic module for executing previously compiled PHP code.
The IonCube Loader only can decode PHP files previously pre-compiled using the ionCube PHP Encoder.
How does IonCube loader work?
IonCube loader comes as a dynamic PHP extension module. Once this PHP extension is loaded, your PHP engine can decode on the fly the pieces of code that it can find encrypted.
PHP encoded files look like:
<?php //004ff
//
// IONCUBE ONLINE ENCODER EVALUATION
// THIS FILE IS LICENSED TO BE USED FOR ENCODER TESTING
// PURPOSES ONLY AND SHOULD NOT BE DISTRIBUTED
//
if (!extension_loaded('ionCube Loader')) {
...
?>
HR+cPxXVH2UTkRm8MEJH16nGDbaVvZENB87ah8YuwudXA7s+ISvH8D5rqKSheLfnBQ2d
yx5yu5FEMMgzttHBNNcGOZ7DLwVRG1aXHIC6WGhPYzafs+gut8DHebHUzSPj3JYu9t6
1Nnuc5Dso5SnAa8v2AabXUvZBpQrYTf8tY1L0zL8sqTIvTlv/tRCpsu4hrwFg7hqx+6
xtfwBfCbrGMVFYebH5AvOLOKn8Ao1A1lX+GdiD0mLr8BAQ2jrZx1i8wZ0ILNuKRFWvF
...
ZG4bUtd+4UIWW057ZMkKS4+XUPhUujEllco6gB1KoekhLv9xVj70cRWRgnf+nSCcCc2
vqaTu78gagPhQvoSZ7pTBOGoyfbc0XXBJxV+hFqwsyPhXemDwQ37Lf0HHckqLWF5yXi
e2kRxmrwA+P2WbIZabhhHVSgZ9eUtTRCeaswT4geKbT2qa0L==
Before you start installing IonCube Loader
First of all, our recommendation:
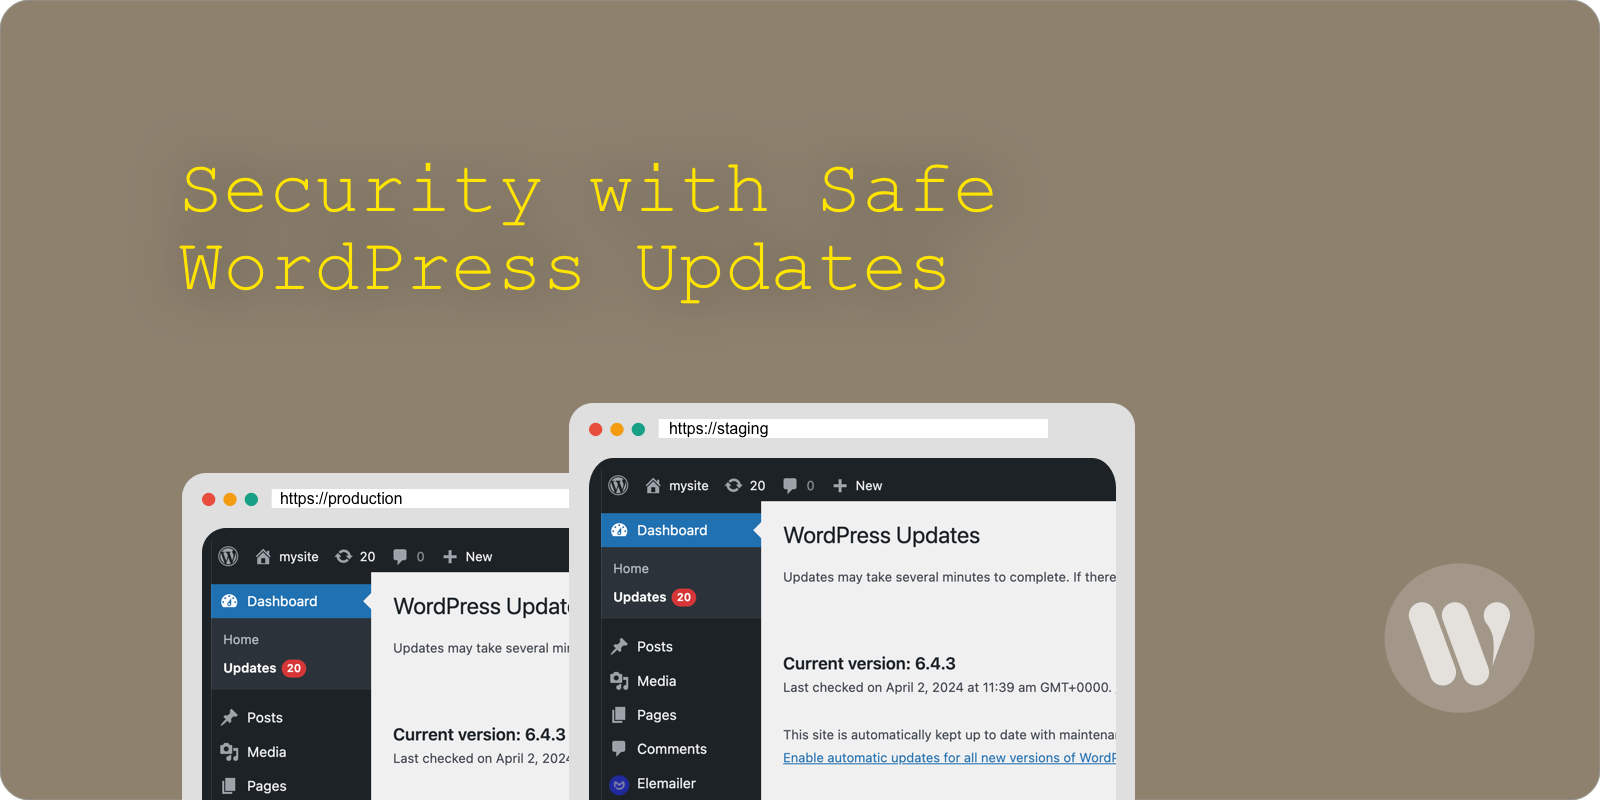
Save your website: don’t test in production!
When testing new server configurations, it is highly recommended to work on a “localhost” or “Staging” server.
If you don’t have a development WordPress server, signup at wetopi, it’s FREE.
Installing IonCube Loader
Let’s describe the step-by-step process for a 64bit Linux distribution (e.g. ubuntu 20.04 LTS).
This guide is also valid If your loader version or OS distribution is different. Simply pay attention, and translate the version numbers.
1 Download IonCube Loader
IMPORTANT: if you are running your WordPress on a wetopi server you can jump to step 3. Load the IonCube extension, IonCube Loader is already installed!
Wetopi is a WordPress Specialized Managed Hosting. Want to try?
Sign Up and run your development servers for FREE.
Download the latest release of IonCube Loader at https://www.ioncube.com/loaders.php
Download and extract:
wget https://downloads.ioncube.com/loader_downloads/ioncube_loaders_lin_x86-64.tar.gz
tar -xvzf ioncube_loaders_lin_x86-64.tar.gz
2 Add the IonCube Loader php extension
You can find the folder where you have to copy the Ioncube loader extension, using this shell command :
php -i | grep extension_dirAnd copy your Ioncube .so extension inside the folder displayed by the previous command, with php7.4 it should look like:
cd ioncube
cp ioncube_loader_lin_7.4.so /usr/lib/php/20200930
Before restarting the php-fpm process, you have to declare the zend_extension in the php.ini configuration file. The best way to proceed is to create a new .ini file inside the php extension configuration directory. You can find the configuration path with this shell command:
php -i | grep 'additional .ini files'It will show you the path of the directory for the additional .ini file of the php cli. If you are running php-fpm, the directory will be the same but instead of /etc/php/7.4/cli/, it will begin with /etc/php/7.4/fpm/
3 Load the IonCube extension
To load IonCube we have to declare it as a zend_extension.
If you are running a wetopi specialized WordPress server, open an SFTP connection, this post shows you how to connect with FileZilla, and edit your php.ini file /var/www/conf/php.ini
Locate this block of code and remove the ";" to uncomment the zend_extension line:
;;;;;;;;;;;;;;;;;;;;;;;;;;;;;;;;;;
; ionCube PHP Loader + ionCube24 ;
;;;;;;;;;;;;;;;;;;;;;;;;;;;;;;;;;;

zend_extension=ioncube_loader.so
On a clean Ubuntu 20.04 install, you can use the following shell command to write the ini file inside the corresponding configuration directory:
# for php-fpm:
echo 'zend_extension=ioncube_loader_lin_7.4.so' > /etc/php/7.4/fpm/conf.d/00-ioncube-loader.ini

# for php-cli:
echo 'zend_extension=ioncube_loader_lin_7.4.so' > /etc/php/7.4/cli/conf.d/00-ioncube-loader.ini
The last step is to reload the php-fpm process to apply the new configuration:
4 Apply the new configuration
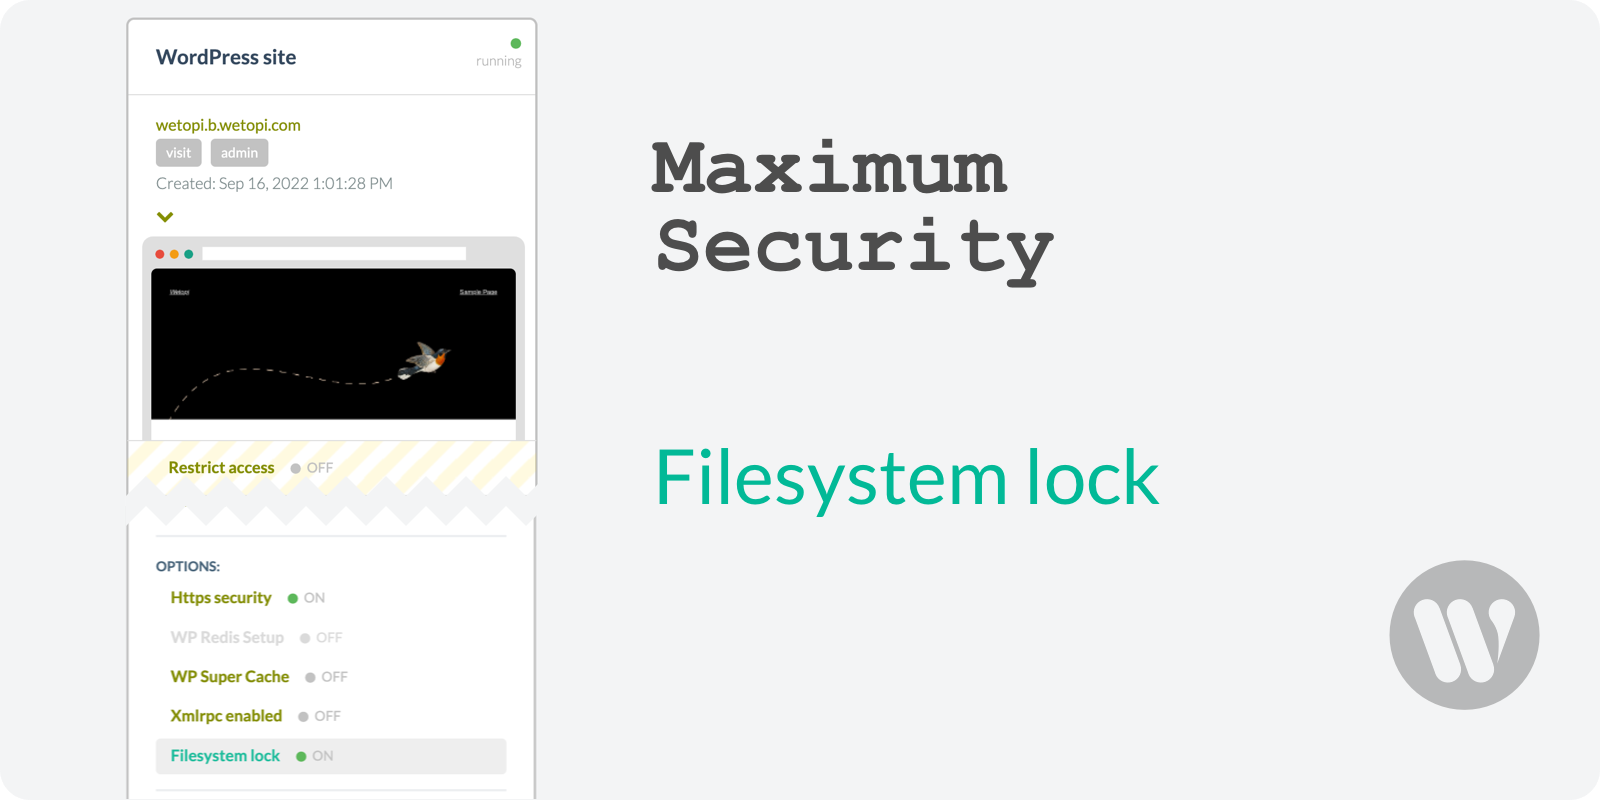
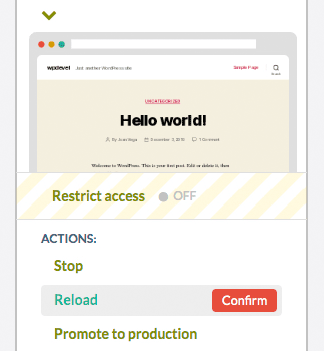
If you are running a wetopi specialized WordPress server, You can reload php-fpm with a simple click in your wetopi panel. Go to your site server and click the Reload button you’ll find inside the “Menu Options”:
On an Ubuntu 20.04 install, you can use the standard shell command:
service php7.4-fpm restart5 Verify IonCube loader is running
You can check if the install was successful with the command php -v, it should output something like:
PHP 7.4.18 (cli) (built: Feb 17 2022 16:46:22) ( NTS )
Copyright (c) The PHP Group
Zend Engine v3.4.0, Copyright (c) Zend Technologies
    with the ionCube PHP Loader + ionCube24 v11.0.1, Copyright (c) 2002-2022, by ionCube Ltd.
    with Zend OPcache v7.4.8, Copyright (c), by Zend Technologies
Don’t you have an account on Wetopi?
Free full performance servers for your development and test.
No credit card required.
This might also interest you: