Discover the essential HTTP response headers that can enhance the security of your WordPress website.
At Wetopi, we incorporate HTTP Security Headers into your WordPress server. This helps restrict the actions that browsers can perform on your website and adds an extra layer of security. Security headers make it much harder for attackers to exploit client-side vulnerabilities.
The basic Security HTTP Headers
At Wetopi, we deploy WordPress servers that are preconfigured by default with what we classify as basic security HTTP headers. These headers are widely accepted and do not compromise the standard functionalities of your WordPress site.
Protecting you from clickjacking
Typically, clickjacking involves displaying an invisible element over the page that the user sees. The user believes they are clicking on the visible page, but in fact, they are clicking on an invisible element superimposed on it.
Clickjacking (classified as a user interface redress attack or UI redressing) is a malicious technique of tricking a user into clicking on something different from what they perceive.
https://en.wikipedia.org/wiki/Clickjacking
By default, all Wetopi servers are configured with this HTTP header. If not hosted with Wetopi, you can easily add this header to your Nginx server configuration using the add_header directive:
add_header X-Frame-Options SAMEORIGIN;NOTE: by specifying SAMEORIGIN, we can still use the page within a frame if this frame, and its page have the same domain. On the other hand, if you don’t need to present information in frames you can replace the “SAMEORIGIN” by a “DENY”
Serving content always in HTTPS
The second basic Security HTTP Header we implement by default at Wetopi is known as the HSTS: HTTP Strict Transport Security.
By default, all Wetopi servers are configured with this HTTP Header configured. If your site is not hosted with Wetopi, you can easily add this header to your Nginx server configuration using the following add_header directive:
add_header Strict-Transport-Security "max-age=31536000; preload";This header instructs the browser to interact with your WordPress server using only HTTPS connections. The max-age attribute specifies the duration, in seconds, that the browser should remember to enforce HTTPS for the website.
Prevent exploiting MIME type inconsistencies to execute malicious code on a website
The purpose of the X-Content-Type-Options response HTTP header is to prevent attackers from executing malicious code on a website. It achieves this by stopping the browser from interpreting a file as a different MIME type than what it actually is.
add_header X-Content-Type-Options nosniff;This HTTP header is configured by default in all Wetopi hosted websites.
Read more about X-Content-Type-Options in Mozilla documentation.
With Wetopi you get FREE Development Servers, Brotli ready,
Signup in 10 seconds and get your free wetopi account
and finely tuned to serve WordPress at lighting speed.
Advanced Security HTTP Headers
In this section, we will introduce more recent and advanced security headers. At Wetopi, we do not implement these headers by default due to the need to tailor their config according to the website requirements.
The Content Security Policy CSP
The Content Security Policy header is designed to help us mitigate attacks like Cross-Site Scripting (XSS) and data injection.
CSP headers enforce strict, detailed rules on how our webiste loads and executes resources, protecting us from malware distribution, site defacement, and data theft.
Content Security Policy Headers (CSP) define a mechanism by which web developers can control the resources that a particular page is allowed to fetch or execute. They also dictate a number of security-relevant policy decisions.
Content Security Policy W3C Working Draft
The format of the Content-Security-Policy header is as follows:
Content-Security-Policy: directive parameter;You can also define multiple directives in a single header by separating them with a semicolon:
Content-Security-Policy: directive parameter; directive parameter;Additionally, you can include this header multiple times.
Content-Security-Policy: directive parameter; directive parameter;
Content-Security-Policy: directive parameter;
These multiple headers are cumulatively restrictive, meaning you can only further restrict the capabilities of the protected resource.
How to define the Content Security Policy header
Implementing the Content-Security-Policy (CSP) header involves several steps:
1. Understand CSP Directives
Familiarize yourself with CSP directives, which define the restrictions for resources on your web page. Common directives include default-src, script-src, style-src, img-src, font-src, connect-src, frame-src, media-src, object-src, and child-src.
Get a full view of the Content Security Policy (CSP)
https://content-security-policy.com/
Quick Reference Guide
2. Define Your CSP Policy
f you have a deep understanding of your site and its internal and external resource requirements, you can deploy your CSP policy manually. Otherwise, our recommendation is to use a generator tool.
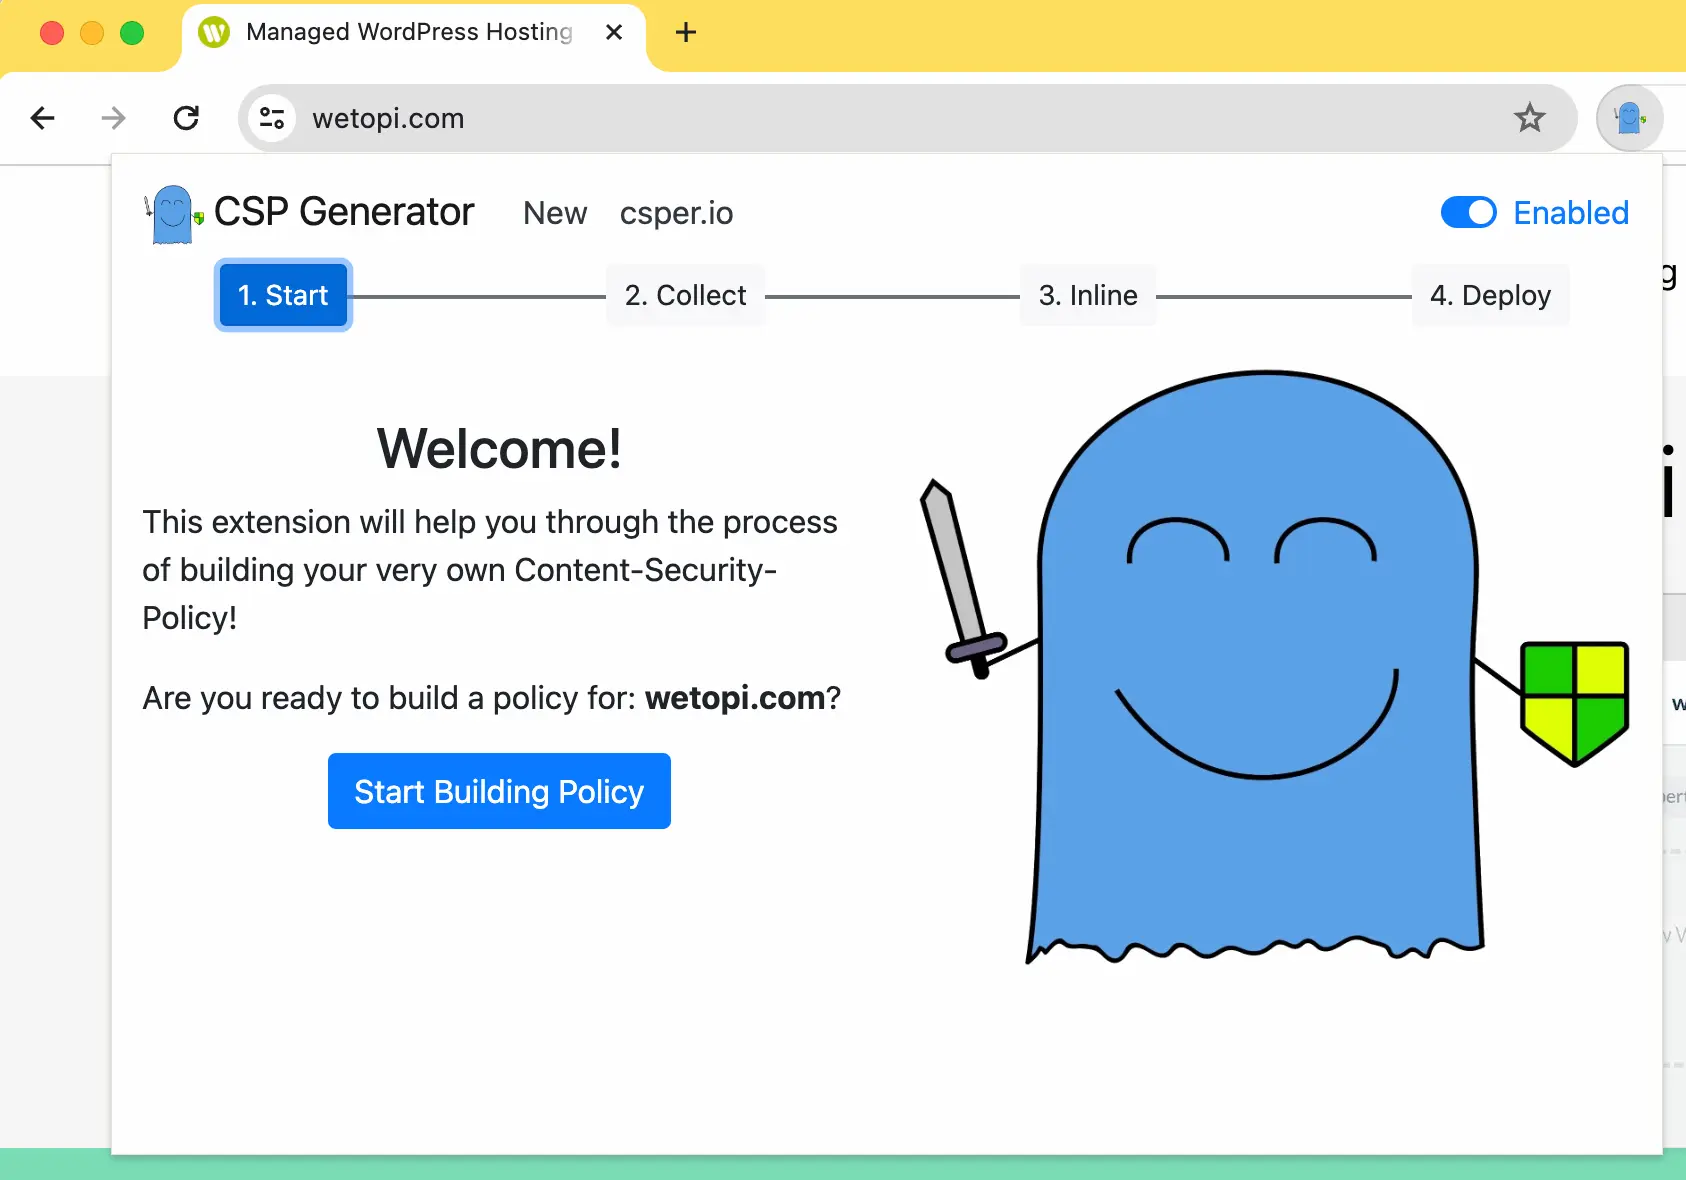
The CSP generator tool we currently use is the FREE Policy Generator by csper.io. You can install it in your browser (Chrome or Firefox), and it allows you to collect directives for your CSP while you browse your website.

3. how to Deploy ^CSP and Monitor Violations
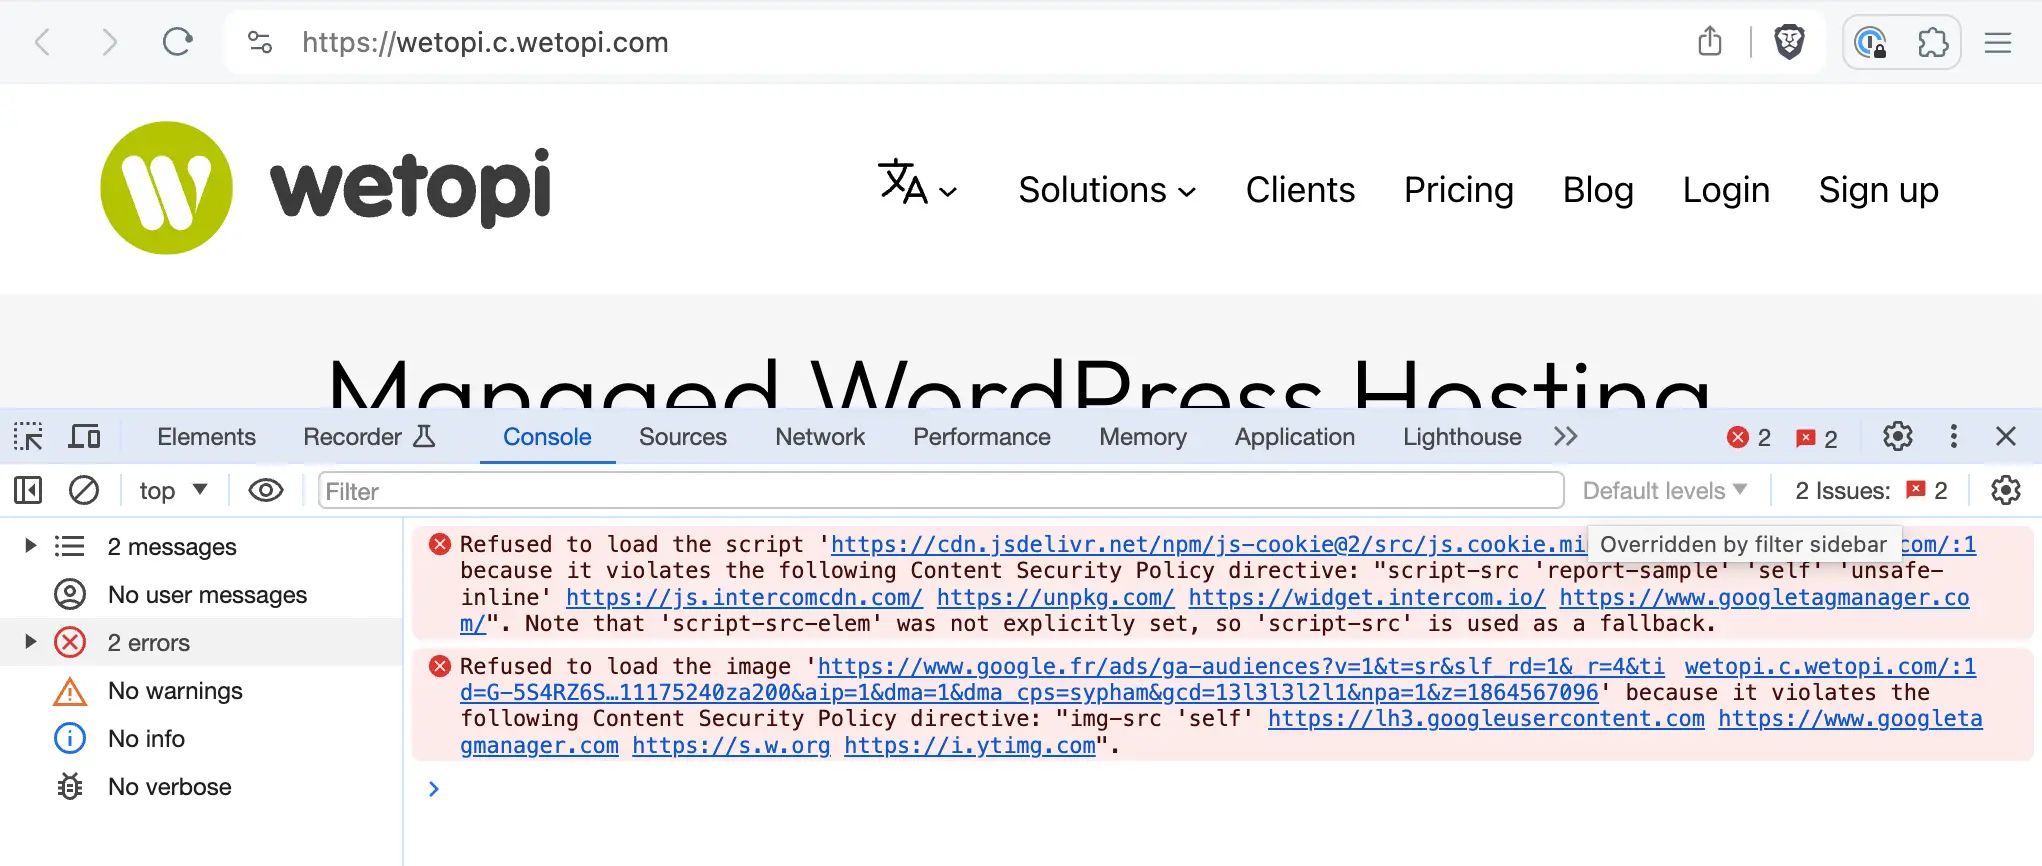
Add it to your web server config and inspect the browser console to find the Policy Violations.
IMPORTANT: With WordPress sites, we recommend a double set of CSP rules. One for the Frontend and a second less strict for the Dashboard (the wp-admin)
Consider disabling Content Security Policy (CSP) rules specifically within the/wp-adminarea. While this adjustment represents a security tradeoff, it can enhance compatibility and functionality within the WordPress Dashboard.
You can deploy the CSP header in your nginx WordPress server with the following add_header:
...

location /wp-admin {
    include  /var/www/conf/mime.types;
    try_files $uri $uri/ /index.php?$args;
}


location / {
    include  /var/www/conf/mime.types;

    add_header Content-Security-Policy "default-src 'self';
                                        script-src 'report-sample' 'self' 'unsafe-inline' 'unsafe-eval' https://unpkg.com/;
                                        style-src 'report-sample' 'self' 'unsafe-inline'; object-src 'none'; base-uri 'self';
                                        connect-src 'self' https://api.websitecarbon.com
                                        frame-src 'self' https://www.youtube.com;
                                        font-src 'self' data:;
                                        img-src 'self' data: https://s.w.org https://i.ytimg.com;
                                        manifest-src 'self';
                                        media-src 'self';
                                        worker-src 'self' blob:;";

    try_files $uri $uri/ /index.php?$args;
}

...
Once done, browse your site while you inspect the console in your Developer tools.

4. Fix the Security Policy and test again
Following the error description, fix the broken rule, and test again.
The Permissions Policy
The HTTP Permissions-Policy header is similar to previous Content Security Policy, but it controls features instead of security behavior.
The format of this Permissions-Policy header is as follows:
Permissions-Policy: directive=allowlistExample when defined for an nginx server:
add_header Permissions-Policy "picture-in-picture=(), geolocation=(self https://wetopi.com), camera=*";By specifying () for the origin list, the specified features will be disabled for all browsing contexts.
The Referrer-Policy Header
The Referrer-Policy HTTP header is intended to limit the amount of information that is sent when a website visitor clicks on a link.
This Referrer Policy can help increase our privacy and security:
- By setting a stricter policy, websites can prevent sensitive information from being leaked through the Referer header when navigating from one page to another.
- In certain scenarios, such as when navigating from an HTTPS to an HTTP site, the Referrer header might inadvertently expose sensitive information, such as authentication tokens or session identifiers.
- It can also prevent referrer spoofing attacks, where an attacker manipulates the “Referrer” header to gain unauthorized access or deceive the server.
Conclusion
Wetopi’s implementation of essential HTTP security headers on WordPress servers enhances website security significantly.
By preconfiguring servers with basic security headers such as X-Frame-Options and Strict-Transport-Security, Wetopi ensures protection against common threats like clickjacking and enforced HTTPS connections.
Advanced options, including Content Security Policy and Permissions Policy, provide further customization to meet specific security requirements, effectively mitigating risks like XSS and data injection attacks.
The strategic use of these headers not only fortifies the security landscape of your WordPress site but also maintains its functionality and user experience. Adopting such proactive security measures is crucial in safeguarding client-side interactions and preserving the integrity of your digital presence.
Don’t you have an account on Wetopi?
Free full performance servers for your development and test.
No credit card required.